Most sourcing guides tell you what to buy. This one tells you how it’s actually built — so you can ask the right questions before your first container ships.
Understanding how stainless steel cookware is manufactured gives you something more useful than a spec sheet: it gives you the ability to spot shortcuts, verify claims, and distinguish a factory that controls its quality from one that just passes your samples.
Key Takeaways
- Stainless steel cookware production involves 8–12 distinct manufacturing stages, each with its own quality failure points
- The base construction method (Whole-Clad, Impact Bonding, or Brazing) is the single most consequential process decision — it determines heat performance, price tier, and durability
- 201 steel can enter the production line undetected without incoming material testing; XRF spectrometer verification is the only reliable safeguard
- Surface finishing (polishing, mirror polish, sandblasting) is where most visible quality variation occurs
- A factory’s real capabilities are visible in what they do in-house vs. what they outsource
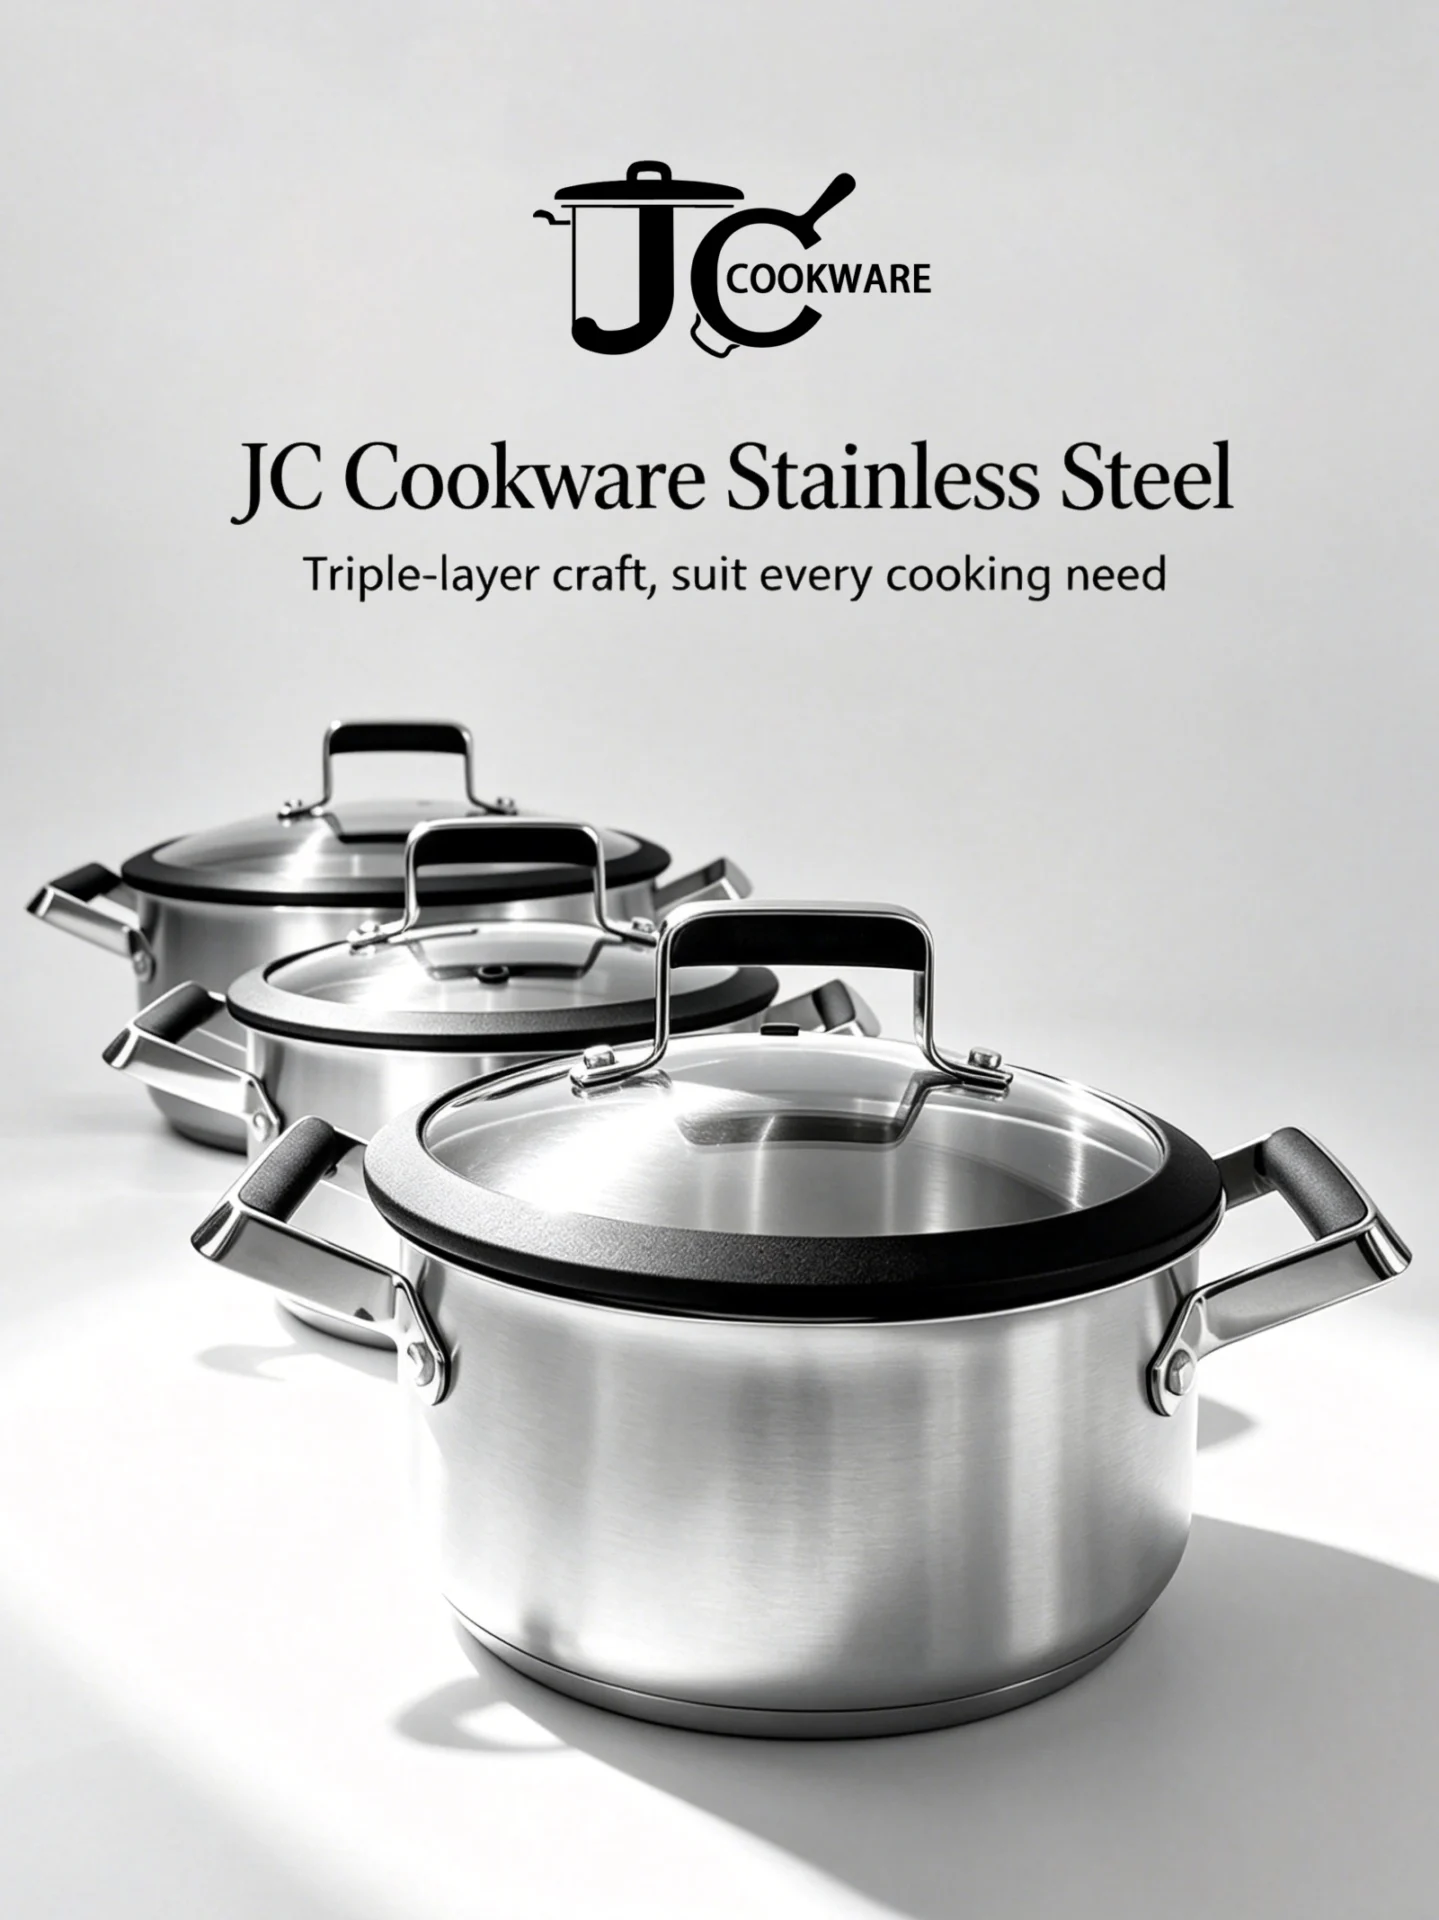
JC Cookware: Manufacturing Across the Full Process Stack
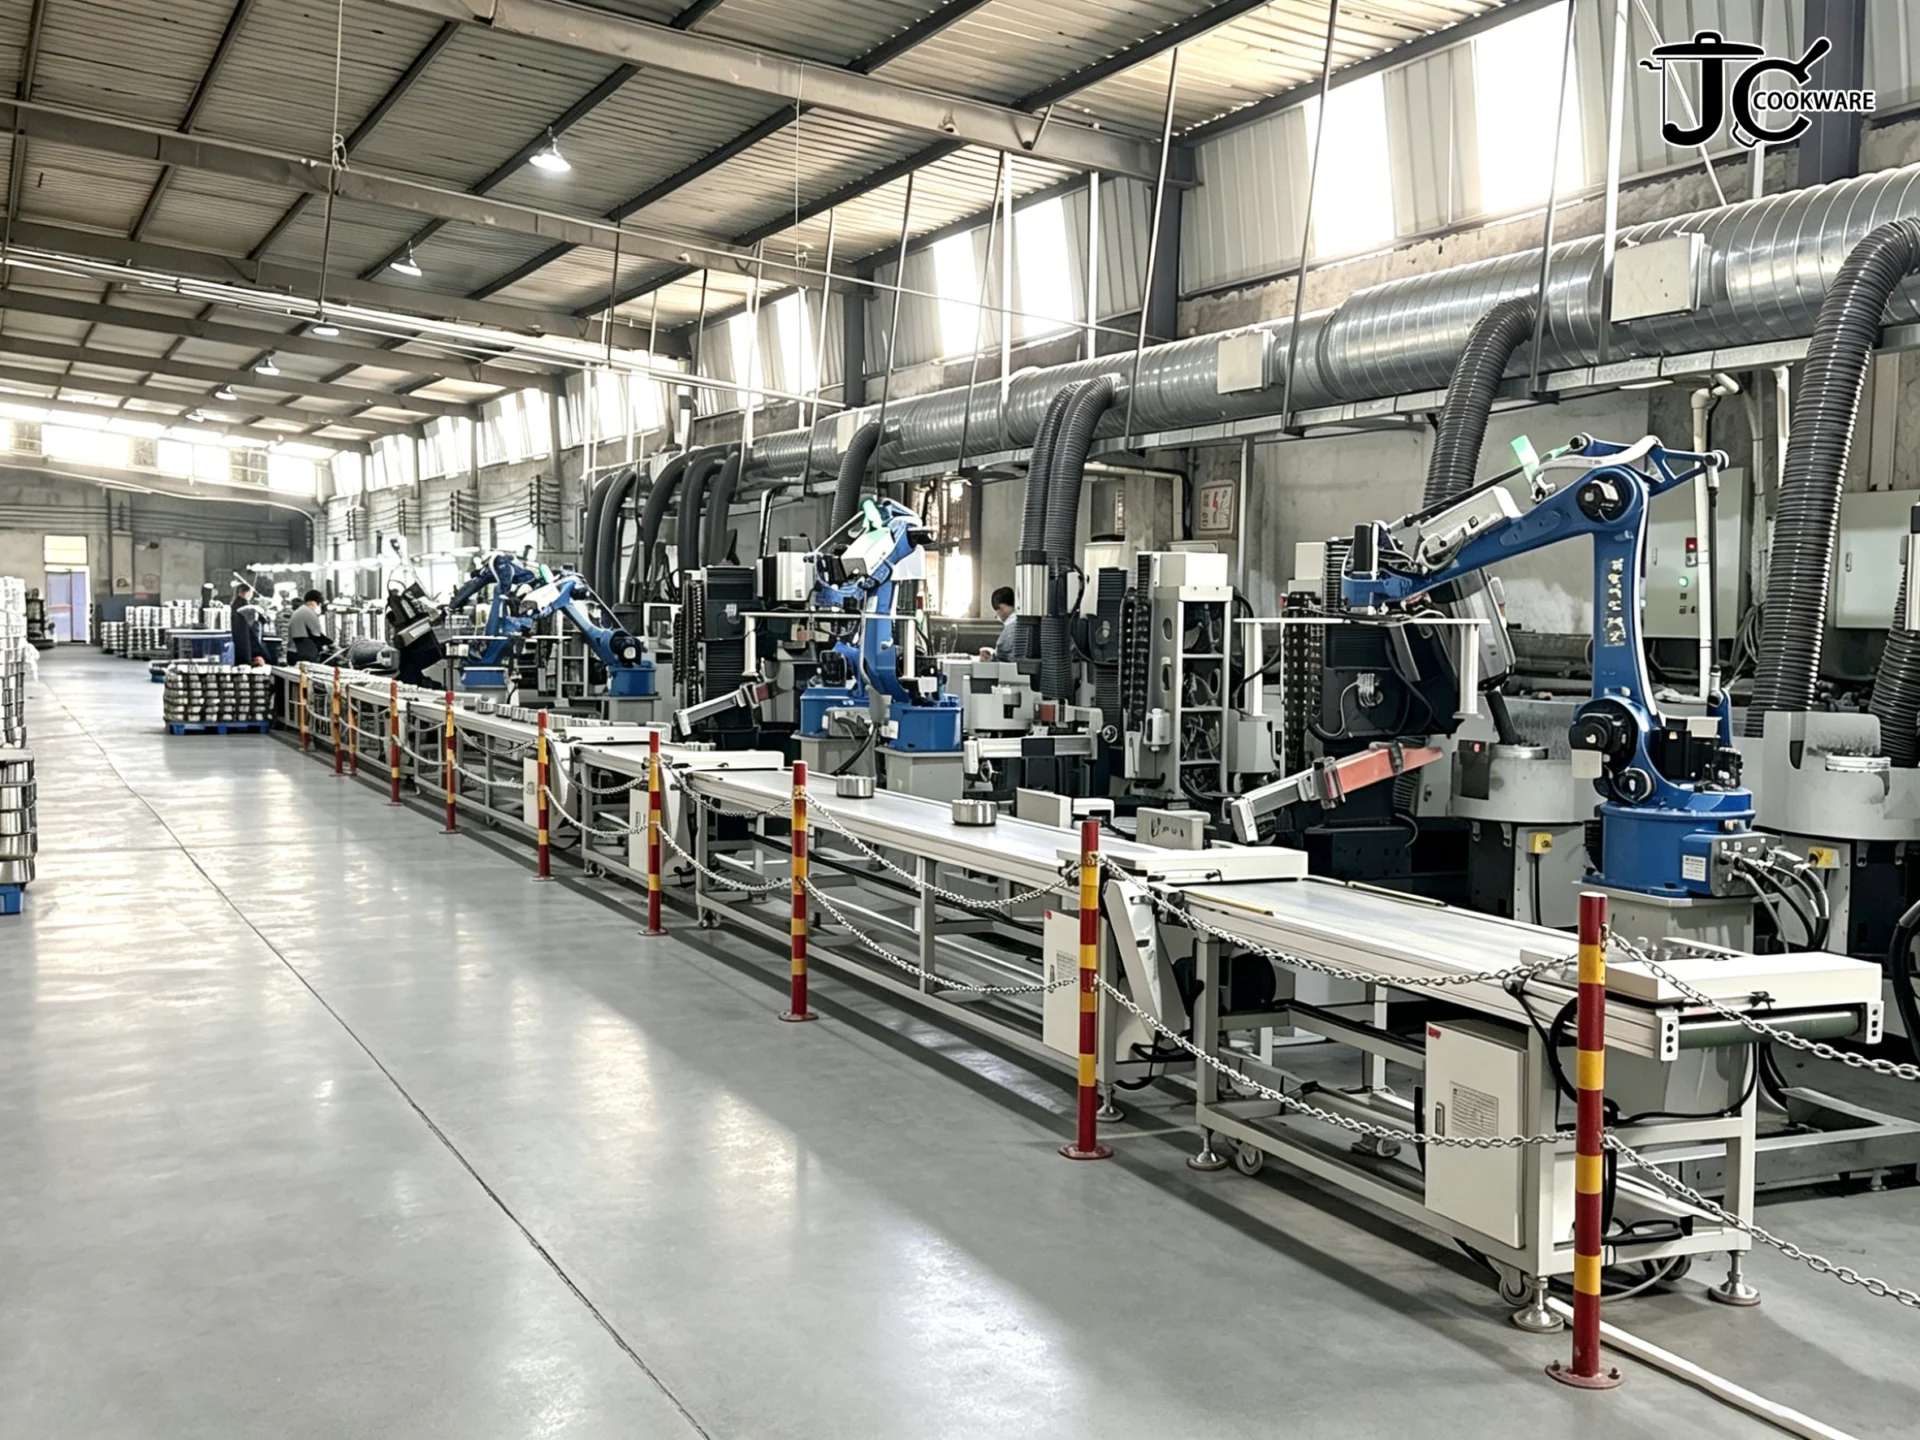
Before walking through the manufacturing process, it’s worth understanding what “full in-house production” actually means in practice — because most factories in China don’t do it.
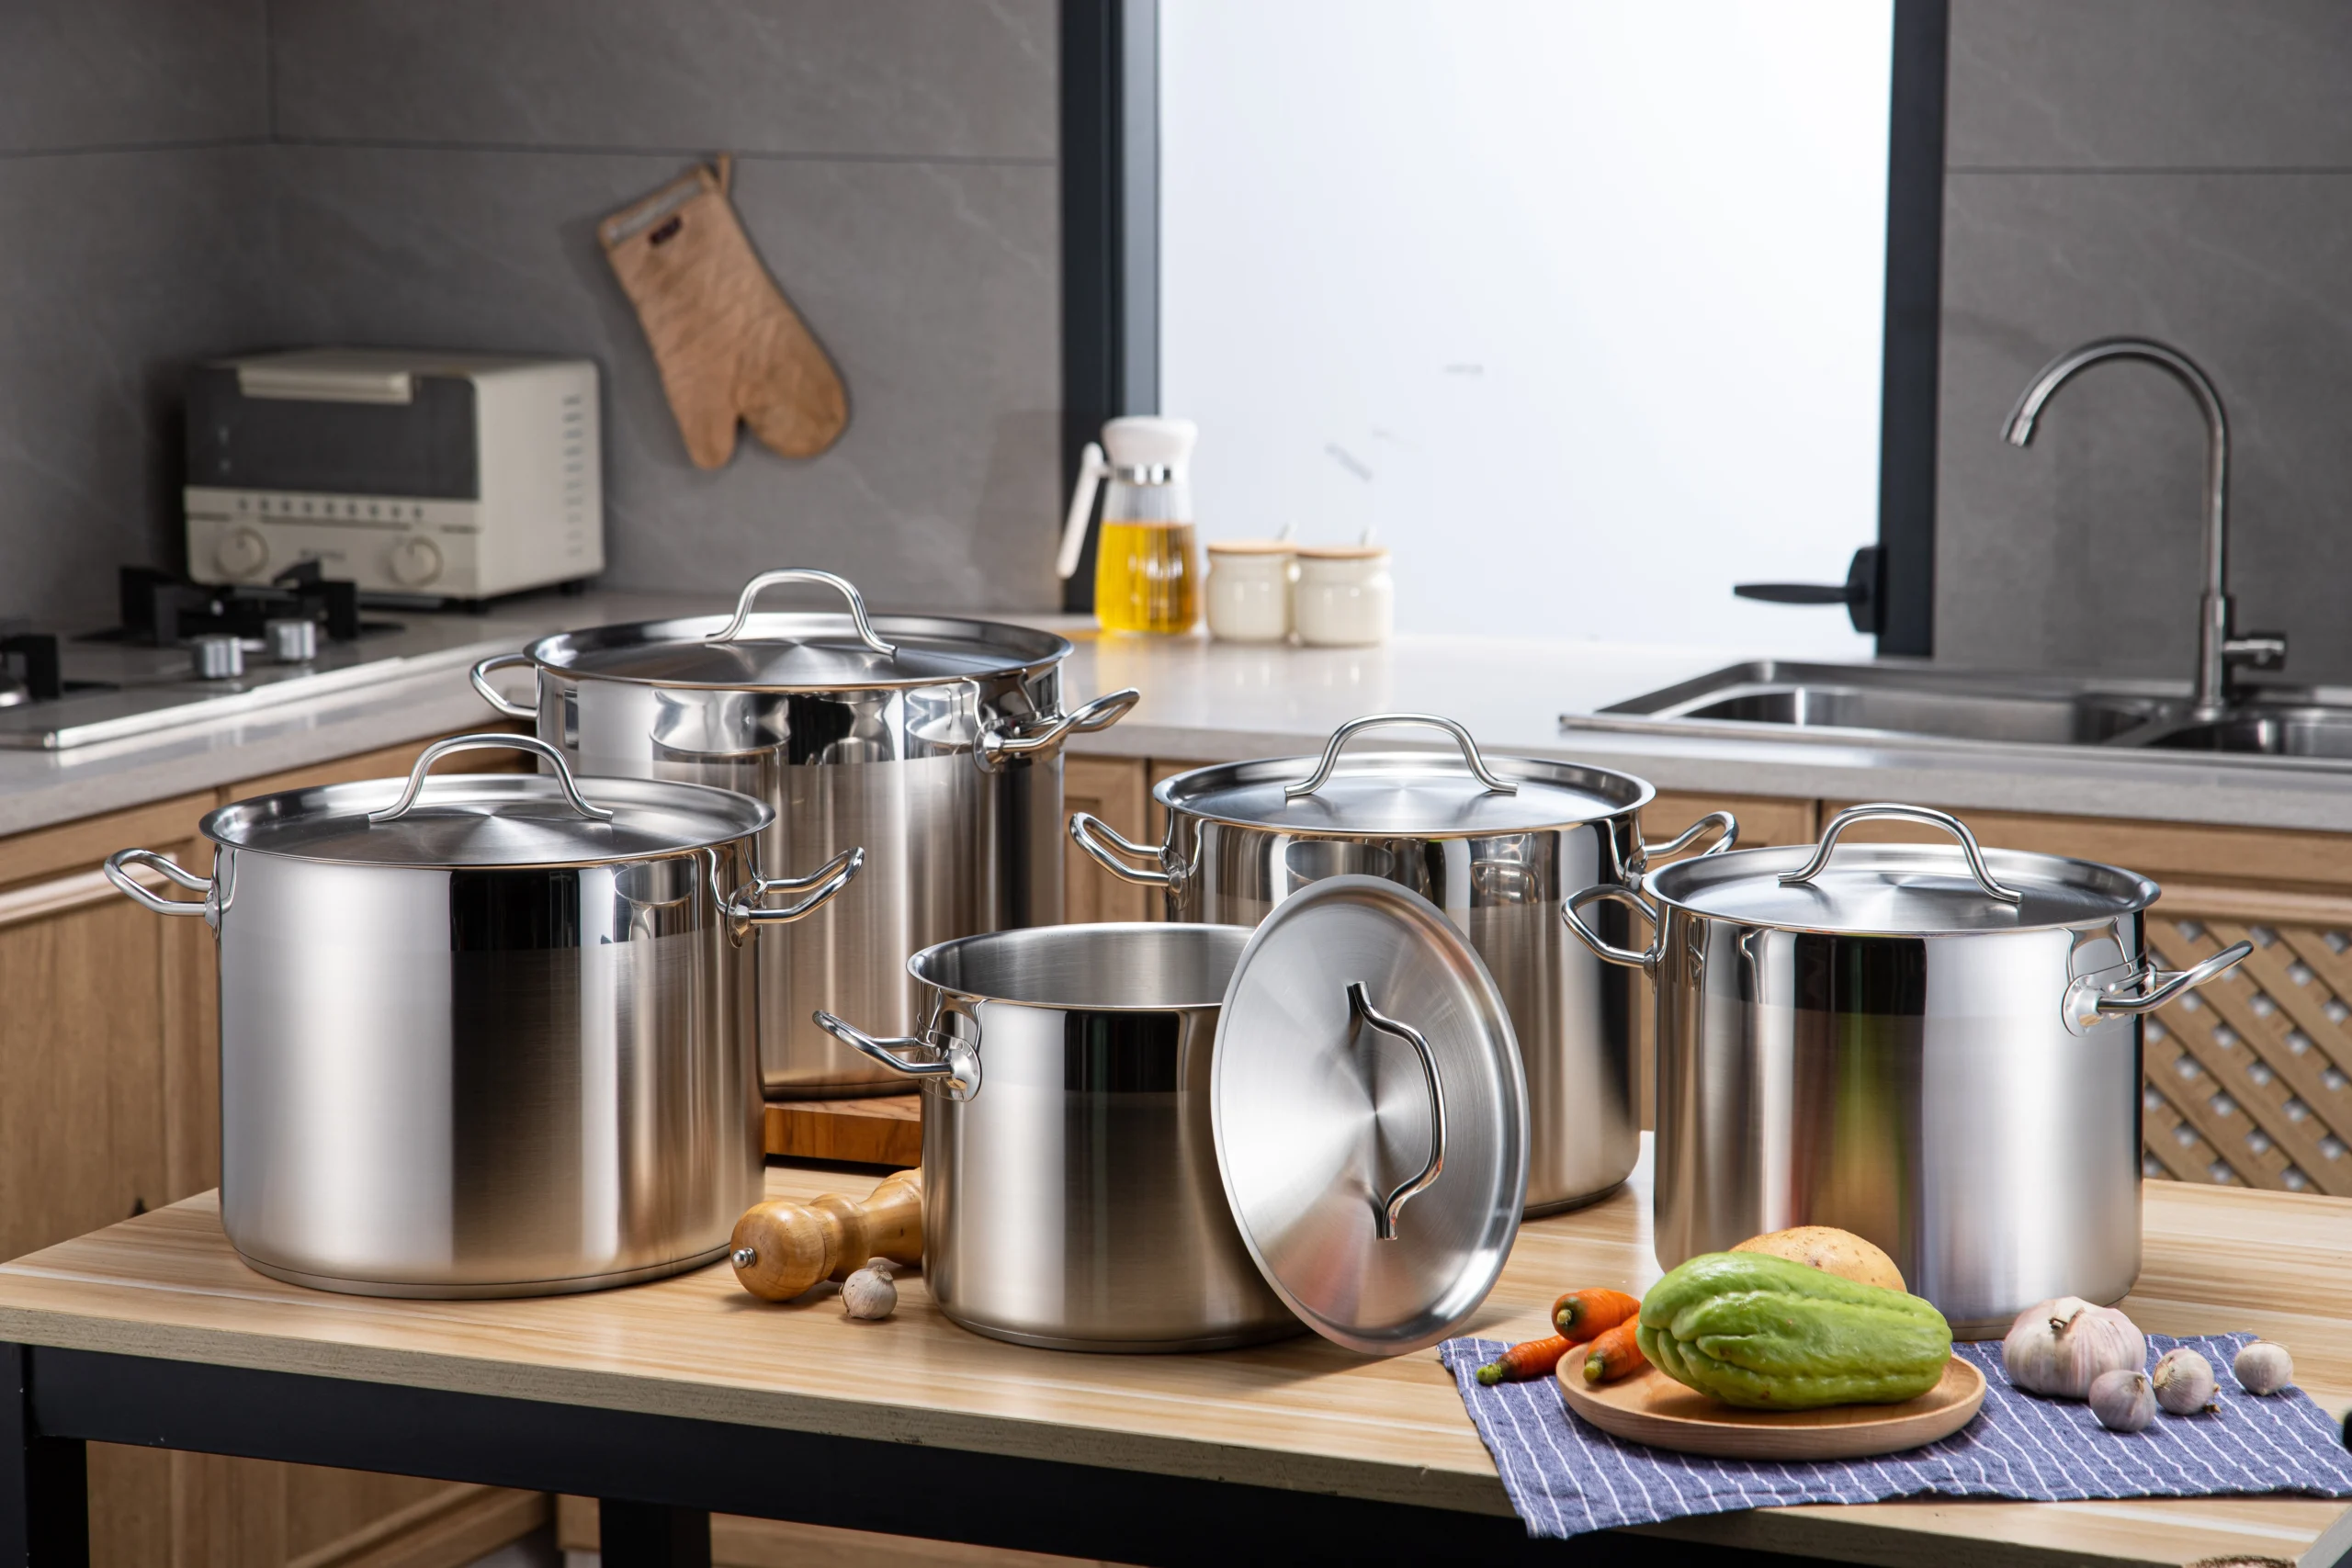
JC Cookware (Jiangmen Xinhui Jincui Metalware Co., Ltd.), founded in 2003 in Jiangmen, Guangdong, operates a 40,000 m² facility that handles every major production stage internally: steel stamping and drawing, all five base construction technologies, handle fabrication (with dedicated accessories factory), polishing, assembly, and QC testing. Annual output exceeds 3,000,000 pieces; cumulative exports have reached 50,000,000+ units across 30+ countries.
What that means for buyers: when you ask “can you do a 5-ply Brazed Composite Base with an OEM handle design?” — the answer doesn’t depend on a subcontractor’s availability or capacity. Everything is on the same floor.
The manufacturing walkthrough below describes the full production sequence. Where relevant, JC Cookware’s specific approach is noted.
Stage 1: Raw Material Sourcing and Steel Verification
Everything starts with the coil. Stainless steel cookware is formed from cold-rolled steel coils, typically in the following specifications:
| Steel Grade | Common Use | Chromium | Nickel |
| 304 (18/8) | Food-contact interior and sidewalls | 18–20% | 8–10.5% |
| 430 | Magnetic exterior (induction-compatible) | 16–18% | — |
| 201 | Decorative only — NOT food-contact | 16–18% | 3.5–5.5% |
The problem that every serious buyer needs to understand: 201 and 304 stainless steel look identical. Same surface finish, same color, same initial corrosion resistance — for about 6–12 months. Then 201 rusts, pits, and discolors. By then, your containers are long delivered and your retail window has opened.
The only reliable way to verify incoming material is XRF (X-ray fluorescence) spectrometer testing, which reads elemental composition in under 30 seconds. At JC Cookware, every incoming steel coil batch is tested with an in-house XRF spectrometer, and buyers receive batch-level material test reports with every order.
Factories that don’t own this equipment and can’t show you test reports from an accredited lab (SGS, Intertek, Bureau Veritas) are not in a position to guarantee what they’re shipping you.
Stage 2: Blanking and Deep Drawing
Once the steel coil clears material inspection, it enters the stamping and drawing process.
Blanking cuts flat circular discs from the coil — these become the pot body. Disc diameter is calculated from the finished pot dimensions, accounting for material thinning and springback during forming.
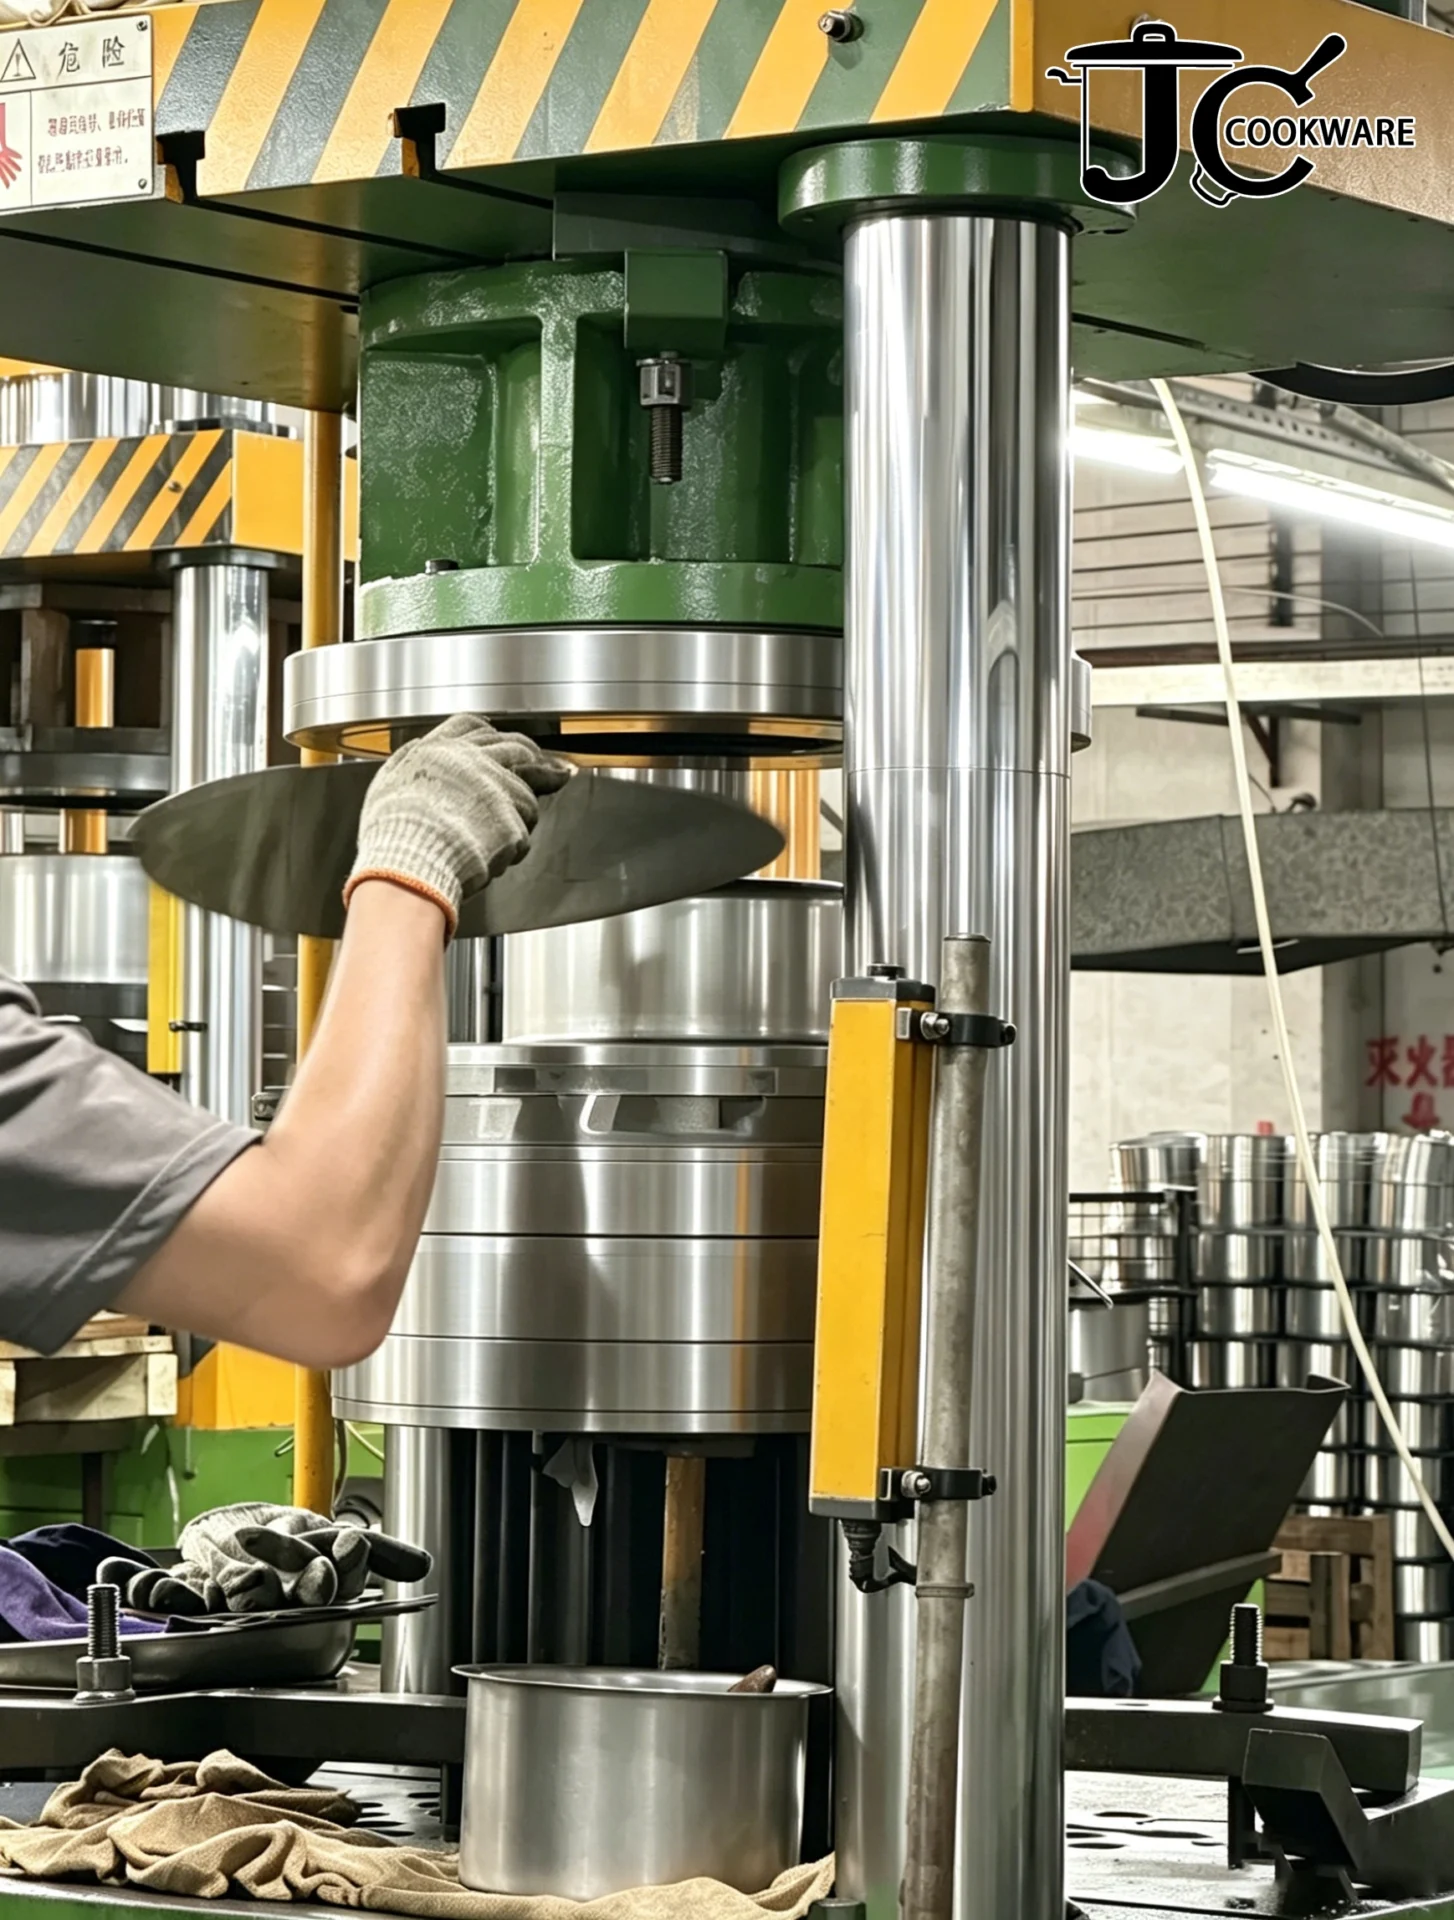
Deep drawing is where the flat disc becomes a pot shape. A hydraulic press forces the steel disc into a die at controlled speed and pressure. The metal flows outward and downward, forming sidewalls without cracking or wrinkling.
For whole-clad (Tri-Ply or multi-ply) cookware, the process starts from a composite sheet drawing — the pre-bonded 3-layer or multi-layer clad sheet is drawn as a single unit, with the aluminum core running continuously through the sidewalls.
Key variables that determine quality at this stage:
- Drawing ratio: The ratio of blank diameter to finished diameter. Too aggressive, and the steel thins unevenly or tears.
- Lubrication: Insufficient lubrication causes galling (metal-to-metal adhesion). Excessive lubrication contaminates the interior surface.
- Press tonnage and speed: Controlled precisely for each gauge and alloy combination.
A single-draw pot (like a saucepan or frying pan) typically requires 1–2 drawing passes. A deeper vessel like a stockpot may require progressive drawing — 3 or more passes with annealing (stress-relief heating) between passes to restore ductility.
Visible signs of poor drawing quality: uneven wall thickness, surface scratches, out-of-round openings, rippling near the rim.
Stage 3: Base Construction — The Critical Process
This is where cookware manufacturing diverges most significantly between factories — and between product tiers. How the base is built determines heat distribution, induction performance, durability, and cost.
There are five major base construction methods used in professional stainless steel cookware production.
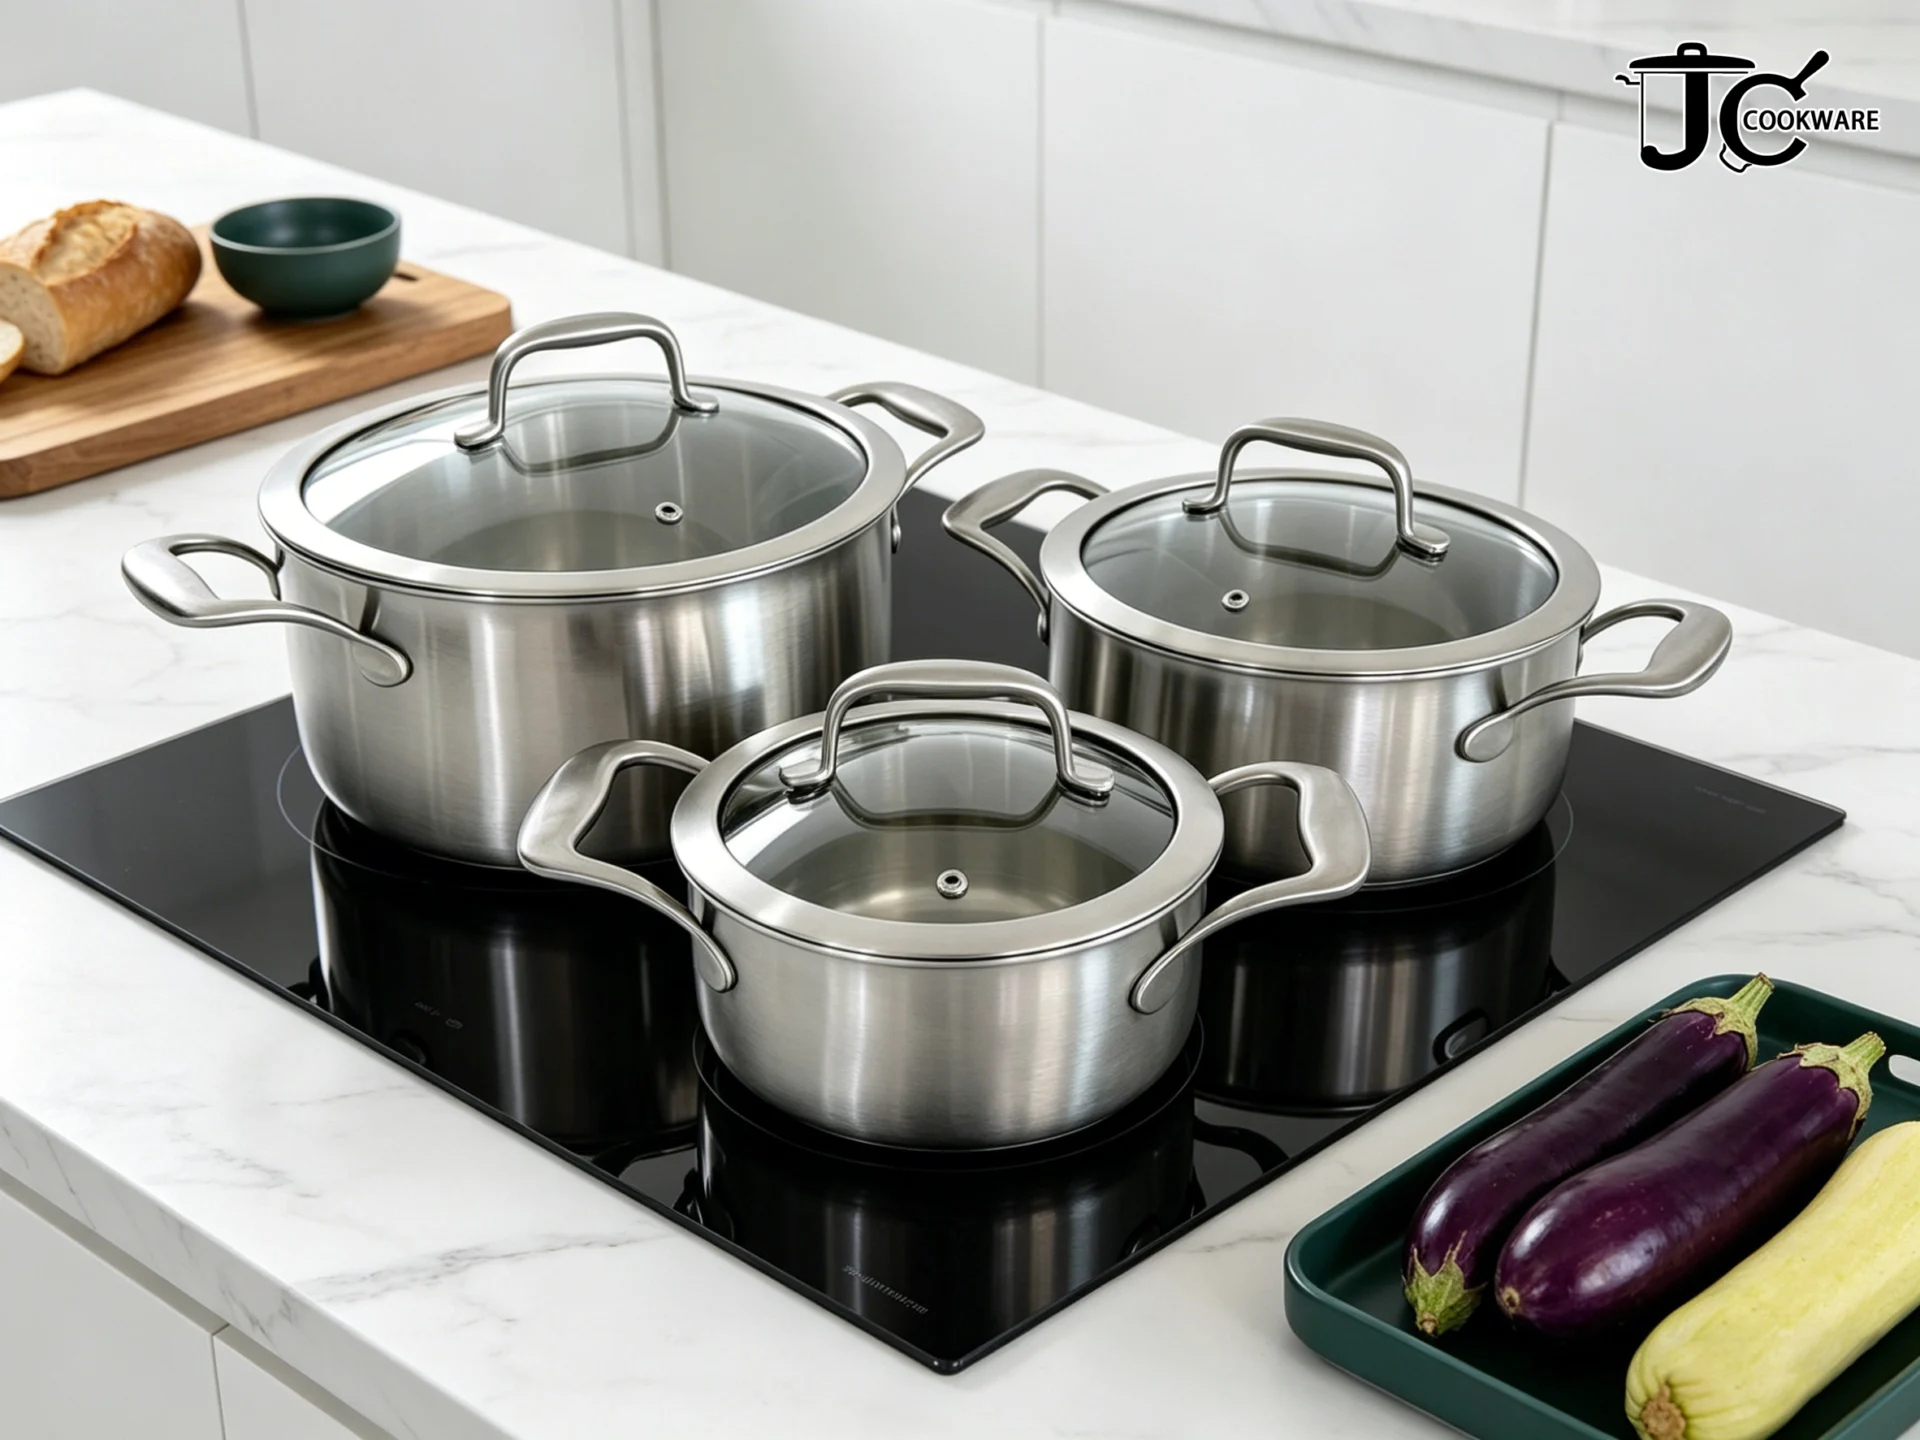
Whole-Clad (Tri-Ply or Multi-Ply)
The most structurally sophisticated method. A composite sheet — stainless / aluminum / stainless — is roll-bonded under high pressure before any forming occurs. The entire pot, sidewalls and all, is then drawn from this composite sheet.
Result: The aluminum core runs continuously from base to rim. No hot spots anywhere on the cooking surface. Consistent temperature even at the highest sidewall point.
Why it’s harder to produce: The composite sheet must be formed as a single bonded unit. Any delamination during drawing is a fatal defect. Press parameters must be calibrated for the composite — not just single-ply steel.
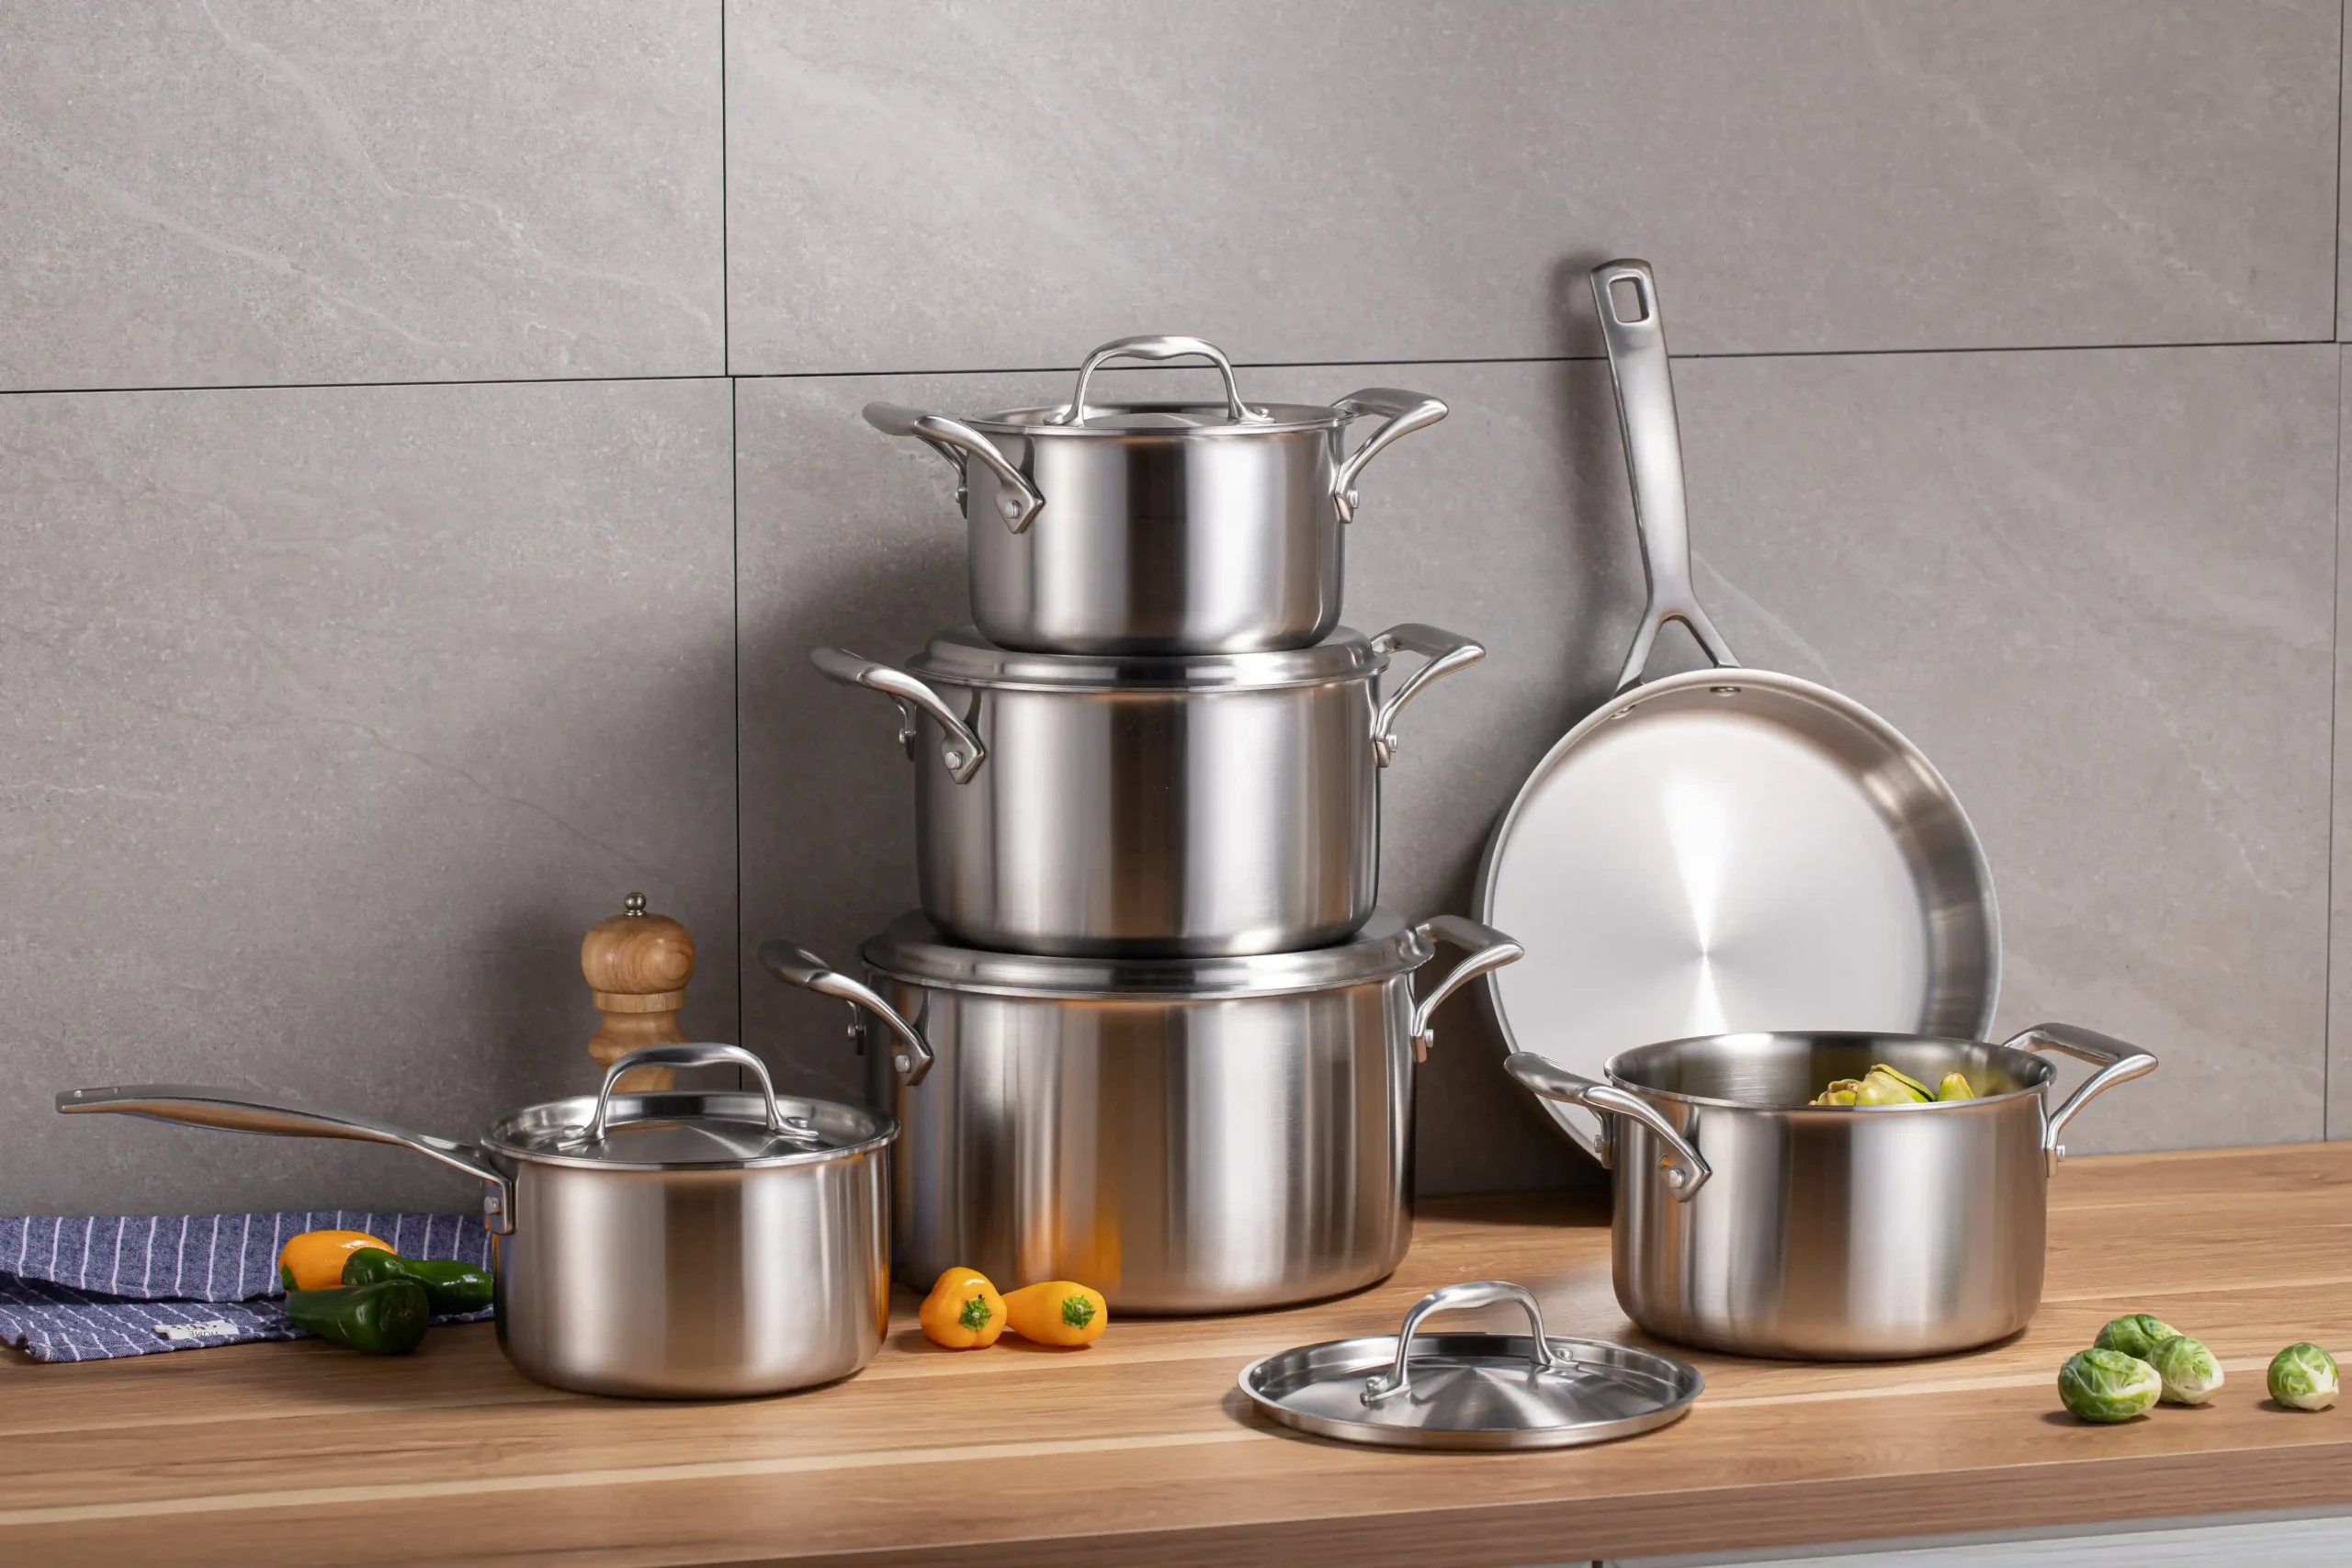
Representative product at JC Cookware: JC-8020B — 3-ply whole-clad saucepan with polished interior, available in tri-ply and 5-ply configurations.
5-Ply Brazed Composite Base
Five layers — common structure: stainless / aluminum / stainless(or iron) / aluminum / stainless, with some configurations adding a copper layer at the center — bonded via controlled-heat brazing into the disc that becomes the base of the pot.
Result: Enhanced heat retention, faster induction response, more thermal mass. The additional layers deliver measurable performance improvements for induction cooking in particular.
Market fit: High-end induction-ready lines, European premium segment, buyers selling to consumers who understand construction specs.
JC Cookware operates this process in-house — one of a small number of factories in Jiangmen with the equipment and process control for 5-layer bonding at scale.
Impact Bonding (Encapsulated Base)
An aluminum disc is placed beneath the finished pot body and joined under high-speed hydraulic impact — millions of foot-pounds of force per square centimeter create a molecular-level bond at the interface.
Result: A thick, flat, aluminum-core bottom with thin stainless steel skin above and below. Excellent heat distribution at the base. Withstands 1,000+ thermal shock cycles (validated per EN 12983 protocols).
Trade-off: Sidewalls are single-ply stainless steel — good thermal mass at the base, but less even heating up the sides compared to whole-clad.
Why it dominates the mid-market: Better performance than brazing, significantly lower cost than whole-clad. Most commercial-grade stainless steel cookware wholesale production runs use this method.
Representative product: JC-8410A — impact-bonded stockpot with heavy encapsulated base.
Braze Welding (Disc Base)
An aluminum disc is joined to the pot base via a copper-alloy brazing process: the disc and pot base are coated with brazing flux, assembled, and passed through a controlled-temperature furnace. The brazing alloy melts and flows into the joint, creating a thermal bond.
Result: Lower thermal mass than impact bonding, but reliable for standard home cooking temperatures. The joint is visible as a thin line at the base perimeter when the cookware is inverted.
When it makes sense: Value-tier products, markets where price sensitivity outweighs performance, buyers building entry-level private label lines.
Critical note: Repeated thermal shock or commercial-use temperatures can cause delamination. Not appropriate for professional kitchen or industrial applications.
Representative product: JC-8080A — brazing-base frying pan for the value segment.
5. Colorful High-Temperature Exterior Coating
Not strictly a base construction method, but a fifth process that applies a functional exterior coating at high temperature. Two main coating technologies are used:
- High-temperature spray paint: The exterior surface is sandblasted or chemically pre-treated to create adhesion profile, then primed and sprayed with heat-resistant paint (cured at 230°C+) in Pantone-specified colors.
- Ceramic glaze coating: Fired at temperatures up to 300°C, offering a harder, more durable surface with a distinctive matte or satin finish.
The cured coating resists surface oxidation, protects the pot body from everyday wear and scratching, and cleans with minimal effort.
JC Cookware produces this in-house with controlled cure cycles: cobalt blue, matte black, gold, copper, and burgundy as standard colorways, with Pantone-matching available for OEM programs.
| Base Technology | Heat Distribution | Induction | Durability | Cost Tier |
| Whole-Clad (Tri-Ply) | Excellent — base to rim | Yes | Highest | Premium |
| 5-Ply Brazed Composite | Excellent — enhanced mass | Yes | Highest | Premium+ |
| Impact Bonding | Very good — base | Yes | High | Mid-range |
| Braze Welding | Good — base | Yes | Moderate | Budget |
| Colorful Exterior Coating | N/A (surface treatment) | Depends on base | Protective | All tiers |
Stage 4: Trimming, Rim Forming, and Spinning
After base construction, the pot body goes through several forming operations:
Trimming: The drawn rim is cut to final height and diameter using a lathe or CNC trimming machine. This removes the work-hardened and irregular edge left by the drawing process.
Rim rolling: The raw cut edge — sharp enough to be a safety hazard — is rolled or folded over on itself, creating a smooth, rounded rim. A well-executed rim roll is clean, even, and tight. A poor rim roll shows gaps, sharp spots, or visible seam lines.
Spinning (for curved profiles): Pots with tapered or curved sidewall profiles (like rounded Dutch ovens) may go through a metal spinning process, where the drawn body is held against a form and pressed into shape by a rotating tool.
These operations look simple. They’re not. Rim irregularity, uneven height, and sharp edge exposure are among the most common cosmetic defects in finished cookware, and they’re almost entirely determined by the precision of this stage.
Stage 5: Handle Fabrication and Attachment
Handles are a significant structural component, not just an aesthetic detail. A handle that loosens after 100 uses is a product liability issue.
Material options:
- Stainless steel (cast, stamped, or hollow tube) — oven-safe, durable, highest thermal conductivity (gets hot)
- Bakelite / phenolic — insulating, oven-safe to ~180°C, standard on most mid-market cookware
- Silicone-overmolded stainless — best grip, premium positioning
Attachment methods:
- Riveting: Most common and most durable. A stainless steel rivet is inserted through pre-drilled holes and mechanically deformed to lock the handle. The rivets are visible on the interior cooking surface — this is normal and not a defect.
- Welding: Used for fully stainless all-in-one designs. Requires skilled MIG or TIG welding; a poor weld is a failure point under load.
- Screwing: Used for removable handles (common in European detachable handle systems). Requires precisely threaded inserts and quality fasteners.
Handle wobble at the time of inspection is always a defect — regardless of the fastening method. If it’s loose in the sample, it will be loose in production.
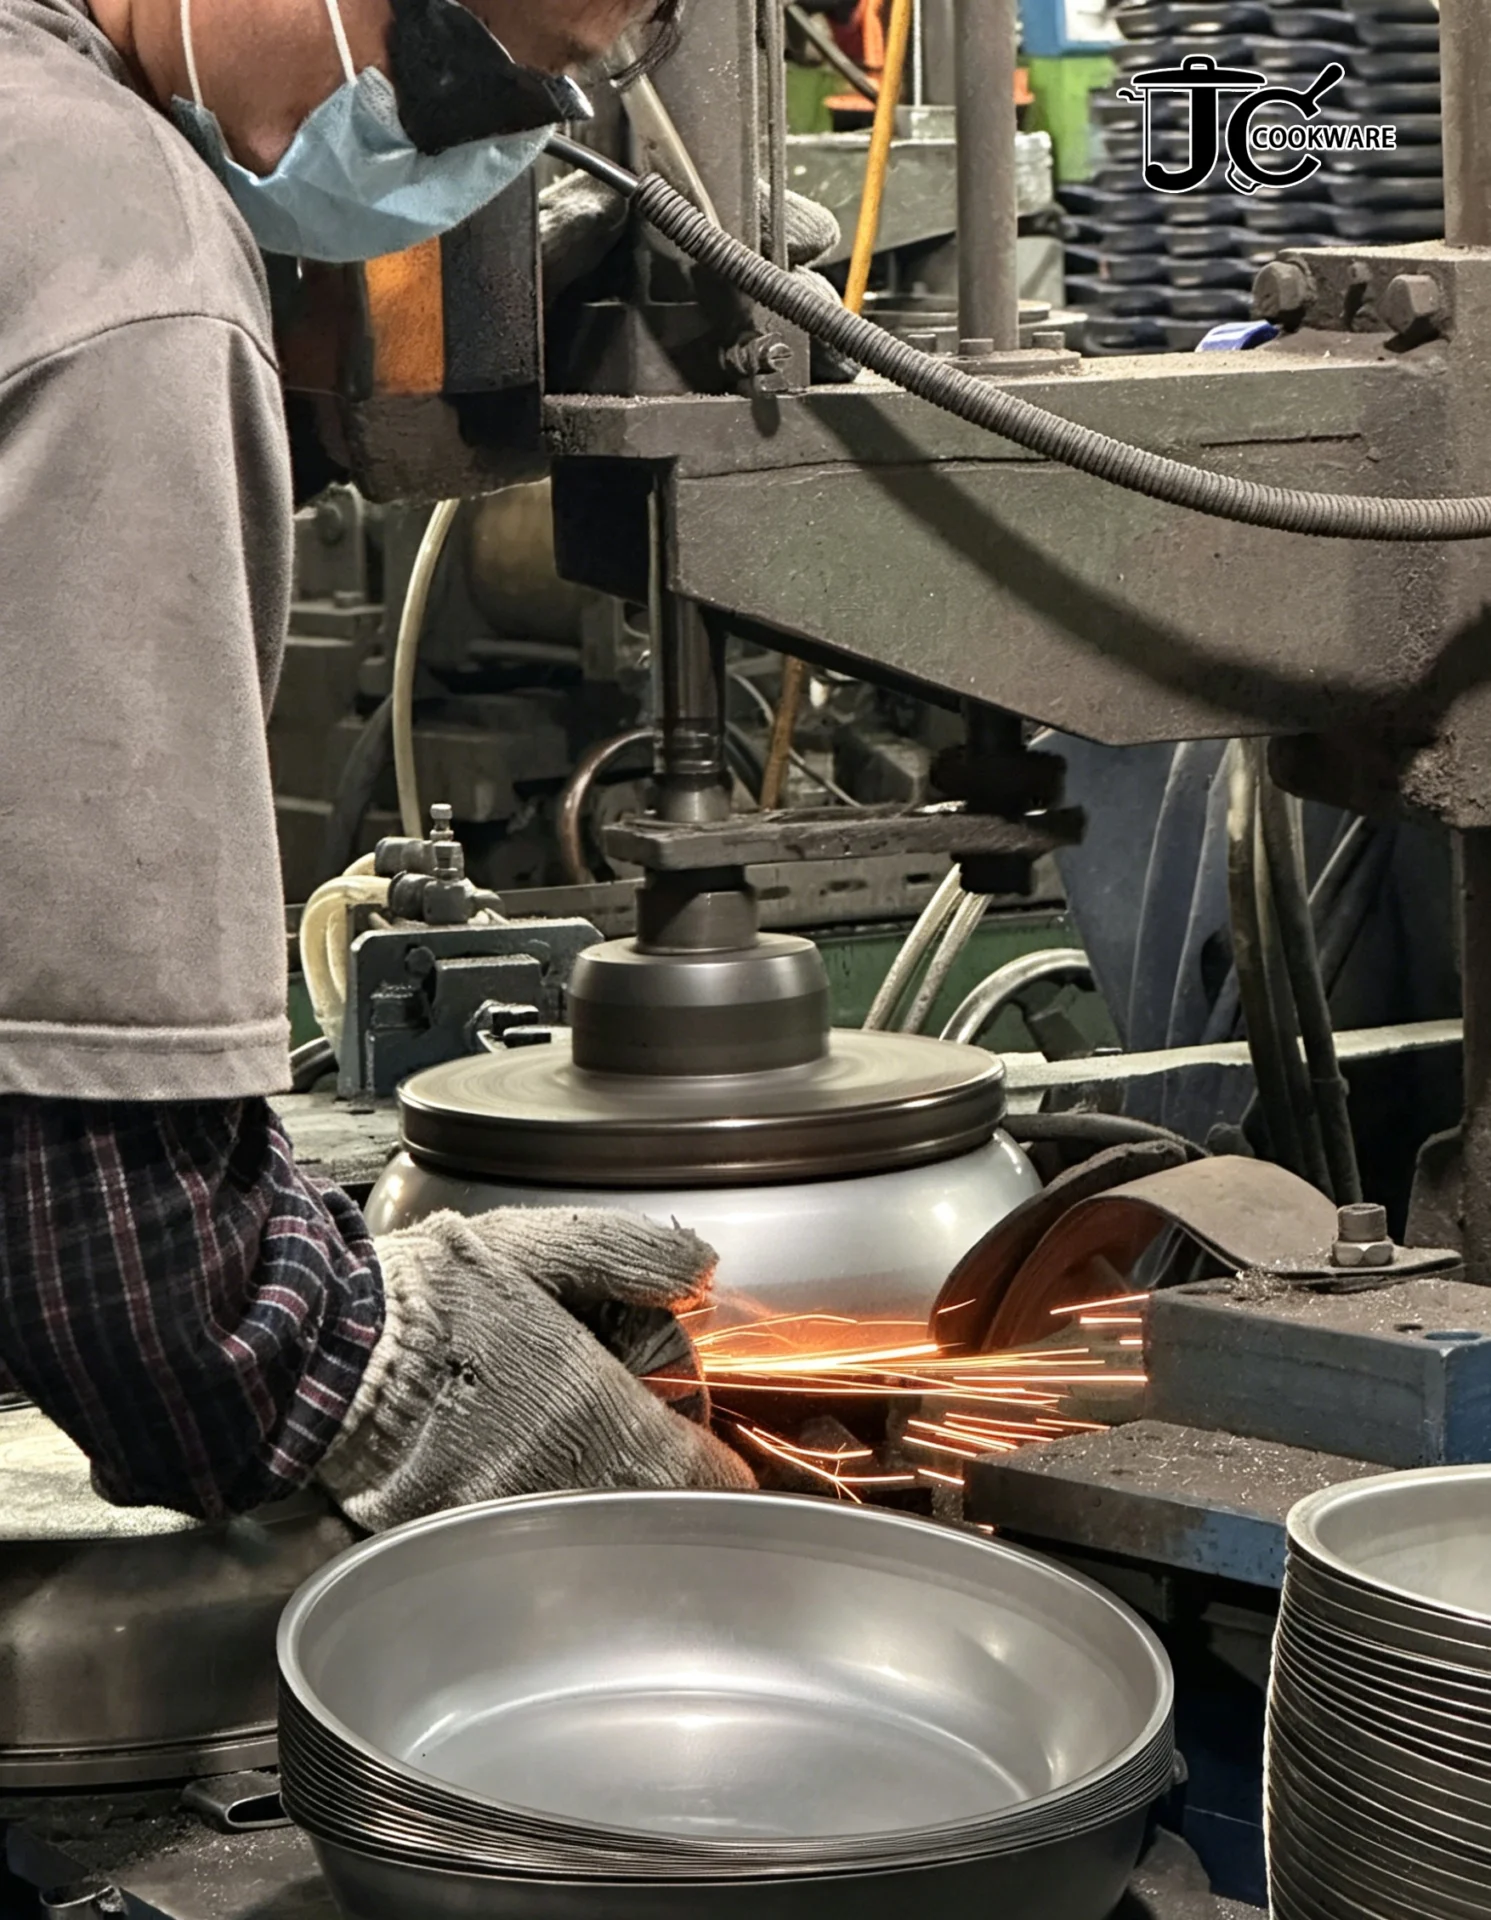
Stage 6: Surface Finishing
Surface finishing is where cookware goes from functional to marketable. It’s also where most visible quality variation between factories occurs.
Interior finishes:
- Mirror polish: High-gloss, highly reflective surface. Produced by progressive mechanical polishing from 120 grit through 600–800 grit with buffing compounds. The most demanding finish to maintain consistently.
- Brushed / satin finish: Unidirectional fine scratches at 180–240 grit. Hides minor surface marks better than mirror polish. Most common on commercial and mid-market cookware.
- Bead blast: Uniform matte texture from glass or steel bead media. Consistent appearance, low maintenance, increasingly popular on premium lines.
Exterior finishes (for non-painted cookware):
- Mirror polish — matched to interior
- Sandblast matte — textural contrast to polished interior
- Pattern embossing — decorative hammered or geometric textures
At JC Cookware, polishing lines handle both automated and manual stages. Mirror-polish interior cookware goes through a minimum of 4–5 polishing passes. Each pass is inspected under high-intensity lighting before proceeding.
Stage 7: Assembly — Lids, Handles, and Knobs
Once the pot body and handle are finished, the assembly stage brings the complete cookware unit together.
Lids: Most stainless steel cookware lids are stamped separately, then rim-trimmed and polished. Lid knobs are either riveted or welded. Glass lids require a separate subassembly — the glass disc, stainless rim, and silicone gasket must be press-fitted and secured.
Handle torque testing: Every riveted handle should be torque-tested before shipment. Acceptable torque thresholds vary by handle size and design, but a rivet that passes a 20 Nm torque test without deformation or loosening is considered secure for standard use.
Nesting cookware assembly note: For nesting/Matryoshka cookware sets (such as JC Cookware’s JC-9010A 6-piece set), assembly includes folding handle mechanisms and collapsible lid knobs. The pivot points and locking mechanisms on foldable handles are a specific QC check — they must operate smoothly, lock firmly, and not exhibit lateral play.
Stage 8: Quality Control and Testing
Production QC in a serious stainless steel cookware factory operates at three levels:
In-process QC (during production):
- Wall thickness measurement at multiple points using ultrasonic gauges
- Base flatness check (maximum bow tolerance: 0.3–0.5 mm for induction-required products)
- Rim roundness verification
- Visual inspection under high-intensity light after each surface operation
Final inspection (before shipment):
- Complete visual inspection per AQL (Acceptable Quality Level) standard — typically 2.5 for cosmetic defects, 1.0 for functional defects
- Handle torque and stability test
- Capacity verification (water fill to marked volume)
- Induction compatibility test (for all induction-specified products)
Third-party lab testing (per certification requirements):
- XRF elemental analysis on finished product samples — confirms no steel substitution occurred during production
- Migration testing (EU/FDA): Heavy metal migration test per EN 1811, LFGB §30/31, and FDA 21 CFR 170
- Salt spray testing (ASTM B117): 48–200 hours depending on market requirement
- Thermal shock: Repeated cycles from boiling to cold water immersion per EN 12983
JC Cookware’s in-house lab runs XRF verification on finished product, not just incoming material — providing full traceability from mill certificate to final goods.
Stage 9: Packaging and Export Preparation
Packaging isn’t an afterthought for B2B buyers — it directly affects landed cost and transit damage rates.
Inner packaging: Each piece receives a protective foam insert or paper wrap. For polished interior cookware, interior protection is non-negotiable — stainless on stainless contact during transit causes scratching.
Color box vs. bulk pack: B2C retail requires individual color boxes with product photography, specifications, and barcode. B2B wholesale often ships in bulk or master cartons with neutral packaging — reducing per-unit cost significantly.
Nesting cookware packaging efficiency: The primary logistics advantage of nesting sets like JC-9010A is packaging volume. A 6-piece nesting set ships in a package 40–60% smaller than an equivalent conventional 6-piece set. In a standard 20-foot container, this translates directly to more units per container — a measurable advantage in freight cost per piece.
Export documentation: Mill test certificates, packing lists, and certificate of origin are standard. For CE/LFGB-certified products, the Declaration of Conformity and corresponding test reports travel with the shipment.
What to Ask a Factory Based on This Process
Knowing the manufacturing sequence gives you better questions for supplier evaluation:
| Stage | What to Ask | What the Answer Reveals |
| Raw materials | “Can I see your XRF test reports for incoming steel?” | Whether they verify or just trust the supplier |
| Base construction | “Which base technologies do you handle in-house?” | Outsourcing risk and process capability |
| Drawing | “What is your wall thickness tolerance range?” | Process control capability |
| Polishing | “How many polishing passes does a mirror-polish interior go through?” | Quality commitment vs. cost-cutting |
| Handle attachment | “What is your riveting torque test threshold?” | Whether handle durability is systematically verified |
| QC | “Do you run XRF on finished product or only incoming material?” | Full traceability vs. incoming-only check |
| Packaging | “Can I see your standard shipping carton drop test results?” | Transit damage control |
Factories that can answer these questions without hesitation have thought through their production. Factories that deflect, give vague answers, or promise to “check and get back to you” are telling you something important.
From Coil to Container: The Full Sequence
Here’s the complete manufacturing sequence at a glance:
- Raw material receipt → Steel coil + XRF verification
- Blanking → Circular blanks cut from coil
- Deep drawing → Pot body formed in 1–3+ passes
- Base construction → Whole-clad, impact bonding, brazing, or coating
- Trimming and rim forming → Final height, smooth rolled edge
- Handle fabrication → Stamped, cast, or machined; torque-rated riveting
- Surface finishing → Polishing, brushing, or sandblasting
- Assembly → Lids, handles, knobs; capacity check
- QC and testing → In-process, final inspection, lab certification
- Packaging → Inner protection, carton, export documentation
Each stage has documented failure modes. Each failure mode has a verifiable checkpoint. The factories that are worth working with know this — and can walk you through it.
Is stainless steel cookware made of 100% stainless steel?
No — most stainless steel cookware contains an aluminum layer (and sometimes copper) bonded to stainless steel. The aluminum provides heat distribution; pure stainless steel alone heats unevenly. Food-contact surfaces are always stainless steel; the aluminum or composite layers are encapsulated and never directly exposed to food.
How thick should stainless steel cookware walls be?
For impact-bonded and brazing-base cookware, sidewall thickness typically runs 0.5–0.8 mm; the encapsulated base is usually 3–6 mm total. For whole-clad (tri-ply), the composite sheet is typically 1.5–2.4 mm total across the three layers. Thicker is generally better for heat retention and durability, but adds weight — a balance to consider for your target market.
How can I tell if a pot is 304 or 201 stainless steel?
Without testing, you can’t — they look and feel identical. The reliable verification method is XRF spectrometer testing, which reads elemental composition in under 30 seconds. Request mill test certificates (MTCs) from the factory, and verify with an independent third-party lab (SGS, Intertek, Bureau Veritas) for any significant order.
What does “18/10 stainless steel” mean?
18% chromium, 10% nickel — the upper range of the 304 specification (standard 304 is 18/8, meaning 8% nickel minimum). The two are the same steel grade. 18/10 is a marketing label, not a distinct material. Both are appropriate for food-contact cookware; both are 304.
How long does it take to manufacture a cookware order?
For standard in-stock ODM products: 30–45 days from order confirmation to FOB shipment. For OEM products requiring custom tooling (molds, handle designs): 10–14 weeks. For re-orders of approved OEM designs: 30–40 days.
Conclusion: Process Knowledge Protects Your Sourcing
The gap between a cookware order that works and one that costs you a retail partnership usually isn’t visible in a sample. It’s in the production process — whether incoming steel was tested, whether the base bonding met the spec, whether the polishing passed the required number of passes.
Buyers who understand the manufacturing process ask better questions, spot warning signs earlier, and build supplier relationships based on verifiable standards rather than surface appearances.
If you’re evaluating a stainless steel cookware manufacturer and want to understand their specific process capabilities — base technologies, QC protocols, certification stack, and MOQ structure — JC Cookware’s technical team can walk you through it directly.
Visit(https://jincui.com/) to connect with the production team.